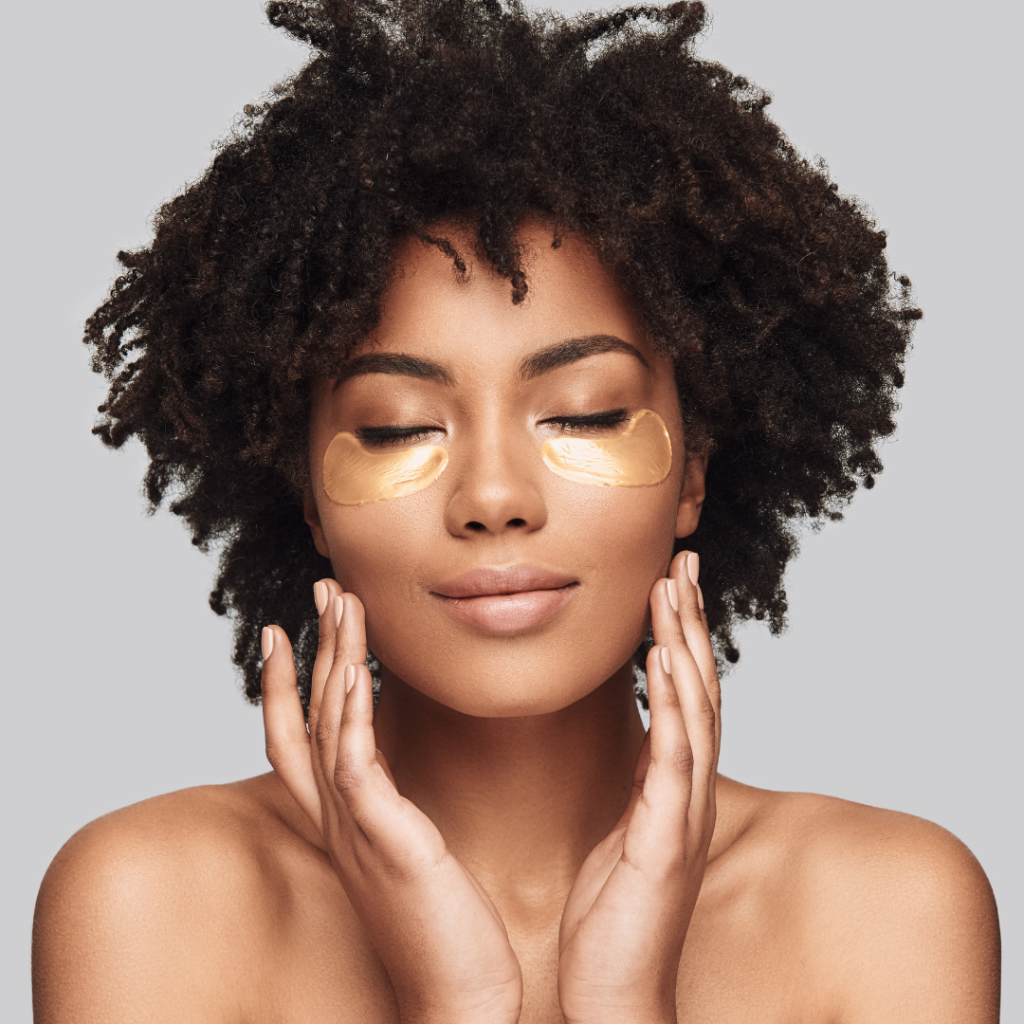

Contouring and highlighting are essential parts of makeup routine nowadays, whether it be applying in editorial works, weddings, film/television, or everyday wear. These techniques will work wonders with changing your facial structure/highlighting your best assets of your face! You do not have to get a nose job or any facial surgery to achieve a smaller nose or bigger cheekbones! With a swipe of contour/highlighting powder, you can achieve these illusions easily! At Chic Studios, we have classes that specifically focus on contouring and highlighting, taught by experts in the beauty industry. Here are some of our contouring and highlighting tips to get a chiseling natural look!

Contour
Focus on what to contour
As a general rule, apply contour where shadows would naturally go. For example, you can contour in places like the on the jawline, sides of the nose, under the cheekbones, and on the temples of the forehead. However, you do not need to cover your face with contour! Only accentuate and bring out the features that make you look your best!

Contour Brushes by Real Techniques
Use what you are comfortable with
Whether it be creams or powders, use what you are familiar with! So select a formula that you work best with, or is suitable for your face, and apply accordingly.
Put contour shade after foundation
For a proper application of contouring, apply it after you set your foundation. If you reverse the step, the contour shade would get lost easily and will be all over the place!
Apply lightly first
When you’re starting out fresh in the contouring world, make sure the shade you’re going to use is one shade darker than your skin tone. Otherwise, it would look drawn on if not done properly. But if you have been in the contouring game for a while or pro at it, go ahead and work some of the more darker shades into your routine!

Blend!
It’s important to blend every contour line on your face to make everything look natural. Use either a damp beauty blender or contour brush to dab in circular motions to defuse any contour lines. You do not want to show obviously drawn-on harsh lines!
Smile!
When you want to contour your cheekbone effectively, it’s best to smile while applying your contour shade. By smiling, you can easily see where the cheekbones are instead of sucking your cheeks in to create a fish face! If you do the latter, your contour line will end up lower than expected. So go ahead and smile! Find your cheekbones and draw underneath it.

Highlight
You can’t contour the face without highlighting! With contouring, it darkens areas in the face while highlighting will bring back the glow on your face! It’s all about balance here! Consider some highlighting tips to perfect the technique.
Select a highlight shade that’s right for you
When highlighting, it’s best to use 2 to 3 shades lighter than your skin tone. If you have a fair complexion, use cool toned highlight shades like pearl or cream colors. For medium to dark skin tones, use warm toned shades like peach or bronze. Depending on what look you want to achieve, there are options of getting a matte, shimmery, or glittery highlight shades!

Highlight Fan Brush by Real Techniques
Dust lightly first
Make sure you apply highlight shades when natural light hits you. You do not want to overdo the highlighting or else it would be a blinding and unnatural highlighting look in the daytime. Just lightly dust the highlight shade first in desired areas. If you’re going for a night out look or going to where places have dim lighting, feel free to pack on more.

Applying in the right areas
Like contouring, highlight the areas that light will typically hit on your face. Such places include above the cheekbones, on the bridge of the nose, cupid’s bow (area between your nose and lips), under the brows, forehead, and on the chin.

Blend everything!
Blending is again very crucial in this part! As a pro tip, use the same brush or beauty blender you used for foundation to blend the highlight shade for a natural and seamless application.
It’s also important to note that you should contour and highlight in natural light or good lighting to get the best results (even after you’re done take a picture with natural light or flash)! Also, everyone’s face is different, so apply contour and highlight to show your best features. Contouring and highlighting, when used properly, can make any look beautiful and natural! It’s basically the real life Photoshop and don’t need to have to edit anything at all! Thinking about achieving the best and proper techniques in the art of face sculpting (with powders or creams)? Chic Studios got you covered with contouring and highlighting classes! Learn from the best and sign up for our classes!